2
Software Developer Career Path
In this tutorial you will get to know different types of companies in software industry, software developer career progression.
In our last tutorial, we saw the importance of HTML, CSS, and Javascript. In this tutorial, we will go a little deeper into HTML, and we will discuss a few important HTML tags.
First, let's create a folder on our PC (wherever you prefer). Create a folder by the name sampleHtmlProject (it's your choice). We will place all of today’s session files here in this project folder.
Let's open Visual Studio Code, which we installed in our last tutorial.
Let's create a ‘New Text File’ by clicking on ‘File’ from the header and selecting ‘New Text File’. To save this file, we can use the shortcut ctrl+s (press both keys at a time without plus), or you can also save by clicking File> Save.
A popup will appear, and in it, select the folder that we have created previously, i.e., sampleHtmlProject, provide the name index.html, and click ‘Save’. Now our file has been saved.
Let's try to write simple code.
The most basic tag is the <html> tag. All the HTML content that we are going to write will be written inside this tag.

Here <html> is the starting tag, and </html> is the ending tag. All other tags will be written inside this core HTML tag. What is this DOCTYPE html? I will try to explain this to you in future tutorials. For now, just understand that in DOCTYPE, html indicates that it's pointing to the HTML5 version.
Usually in html, every tag will have a starting tag and an ending tag.

So overall we call it ‘Element’. Element is the collection of start tag, end tag and any content in between.
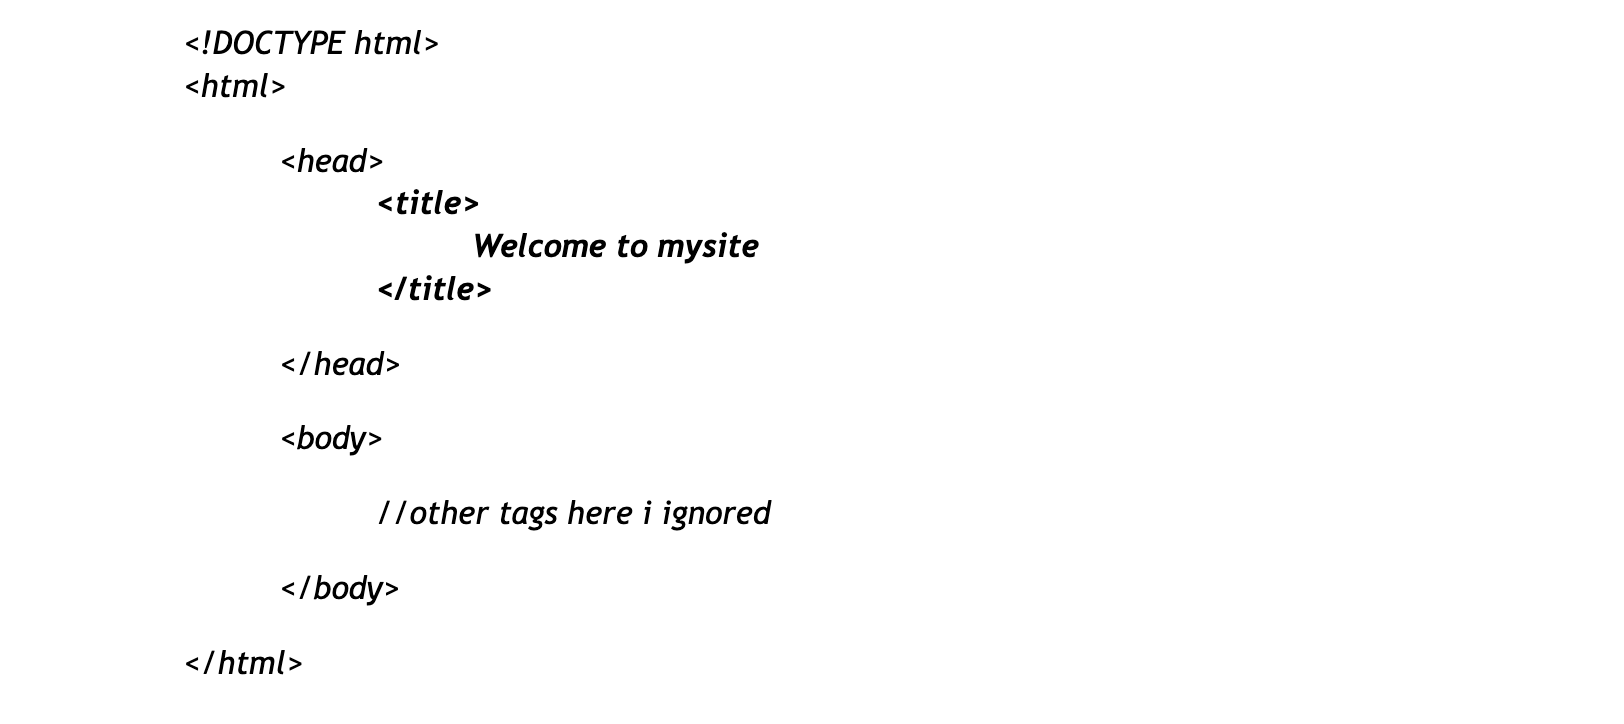
Lets go further and write a basic structure of the html file/document in index.html file.

This is the basic structure where it has one html element; in it there is a ‘head’ starting tag and an ending tag, as well as body starting and ending tags. We will see what head and body tags are all about going further in this tutorial.
In the head tag, we write 'metadata'. What is metadata? You will hear a lot of this word 'metadata' in the software industry; let's try to understand.
As you know, ‘data’ means any ‘content’, and metadata means ‘data’ about other ‘data’. This seems confusing, right? Let's take an example.
The following paragraph is just the text ‘Data’,
“Simply dummy text from the printing and typesetting industry. Lorem Ipsum has been the industry's standard dummy text ever since the 1500s.”
If we describe this data, let's say
"The paragraph is 120 characters long, it's written in the English language, and so on."
This is termed as "metadata."
Now, get back. When we say we write 'metadata' inside the ‘head’ tag, it means whatever HTML document we have, we will describe it inside the ‘head’ tag using various other tags.
We will see what tags we write inside the ‘head’ tag today in this tutorial.
Let's understand the ‘body’ tag. Whatever content we want to show on the screen, we usually write inside the ‘body’ tag. For example, if we want to show some text, image, or any other content on the browser’s page, we write it inside a body tag using various other tags.
Let's start with a 'body' related couple of tags, and we will move to ‘head’ tags. This way, we can understand better.
P Tag :

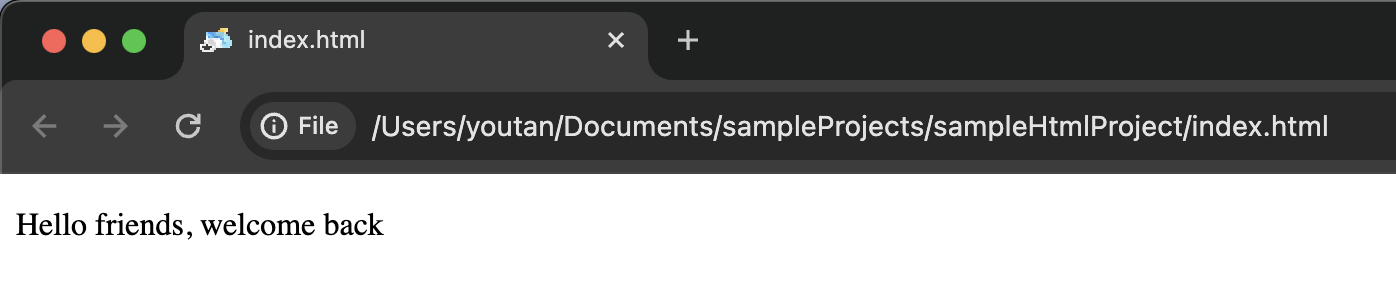
Here we took a new tag by the name 'p'; its full form is ‘paragraph’ tag. It helps us write text content in it. There are a few other tags that also help us to write the 'text', but let's not go into them now; we will see in future tutorials. For now, let's understand that the ‘p’ tag helps us to show some text on the screen or page.
If we save this file and open the ‘index.html’ file by double clicking on the file, then we can see output something like this.
One thing you should know here is that if there is more than one space, then those blank spaces are ignored in HTML. Lets say

both are the same, as spaces get ignored.
H1 to H6 Tags:
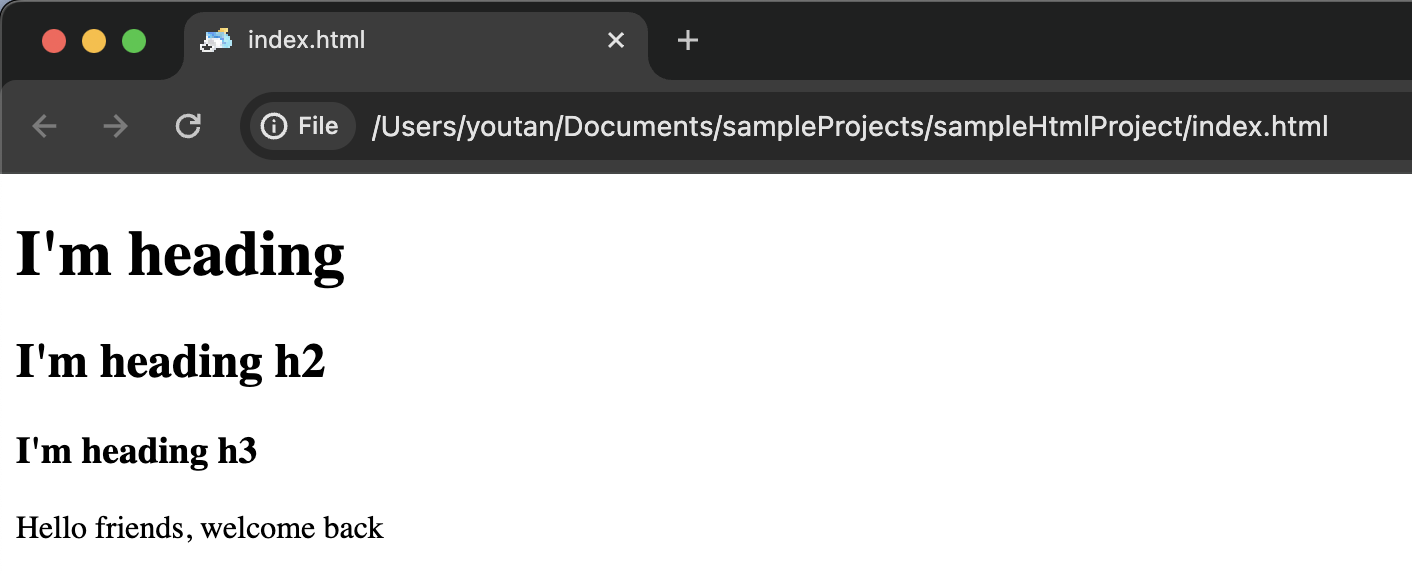
The H1 tag is the heading tag. Whatever headings we want to write, we usually use ‘h’ tags. There are multiple heading tags, like h1, h2, h3, h4, h5, h6. We use other tags as many times as we want, but we use the h1 tag only once in one document or HTML file.
We write headings right from h1 to h6 as and when required, but it's good practice not to miss heading tags in between, i.e., if we want headings, we can use h1, h2, h3,... h6. If we use h1, h2, and h4, you can see I missed h3 tag; this is not a good practice.

If we save this file and open the ‘index.html’ file by double clicking on the file, then we can see output something like this.
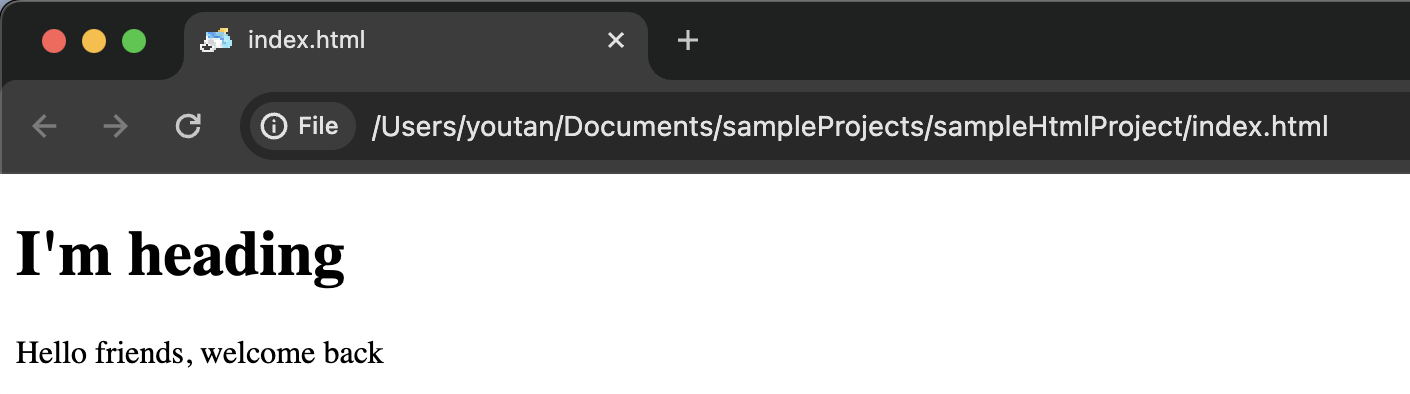
If you can observe the ‘h1’ tag’s content, ‘I’m heading’ is larger or bigger than the ‘p’ tag’s content.

Once we save this file and open the index.html file we can observe the sizes of heading tags which are in descending order.
Now let's jump to ‘head’ tags, it's a good time to understand them now.
Head Tags:
Title tag:
Let's save and open the index.html. The content that we wrote inside the title tag you might not be able to see inside the page because it's the metadata. You can find the title text on the browser’s tab.
The title tag helps to write the text on the browser’s tab; you might have observed this in 'facebook.com (if not, check it out now).

Style tag:
If you remember our previous tutorial, we said that to apply any styles, we needed to use CSS. The style tag does exactly the same; it helps us write our CSS code.
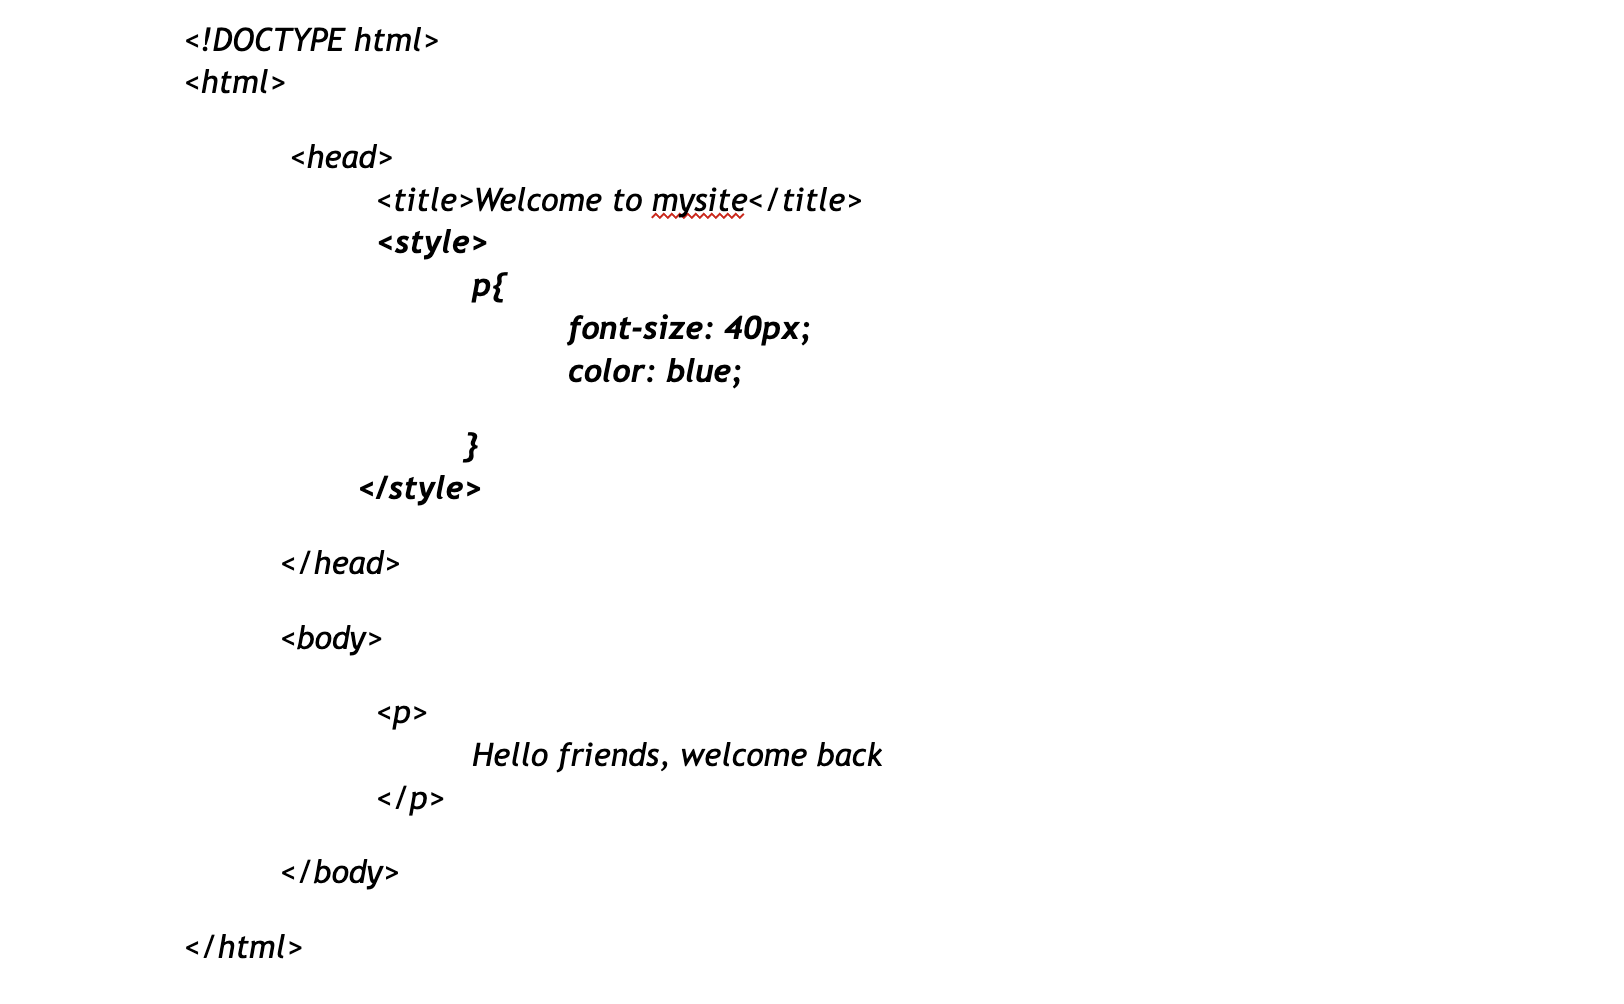
Here we have applied a few styles to the ‘paragraph’ tag. We set the font size to 40 pixels and the color to blue. You can check it out below to see how it looks.

We can apply styles from internally as well as from externally. If we write styles within the same HTML file, then it means we are applying styles internally. If we create a separate CSS file and use it to apply styles, then we call it external styles. We will see how we can apply styles externally in this tutorial using the link tag.
Link Tag:
If we want to use any external resource, then we will use the ‘link’ tag. External resource means any external file, either inside the same folder or another folder, or it can be on the server(url). We call it an external resource.
Let's create an external CSS file. Go to ‘File’ > ‘New Text File', so a file gets created. To save this, just type 'ctrl+s', or you can do ‘File’> ‘Save’. A popup will appear; type the file name you prefer; I will give styles.css; and select the folder that we created at the start of this tutorial, i.e.,'sampleHtmlProject', and click 'save'. A CSS file has been created.
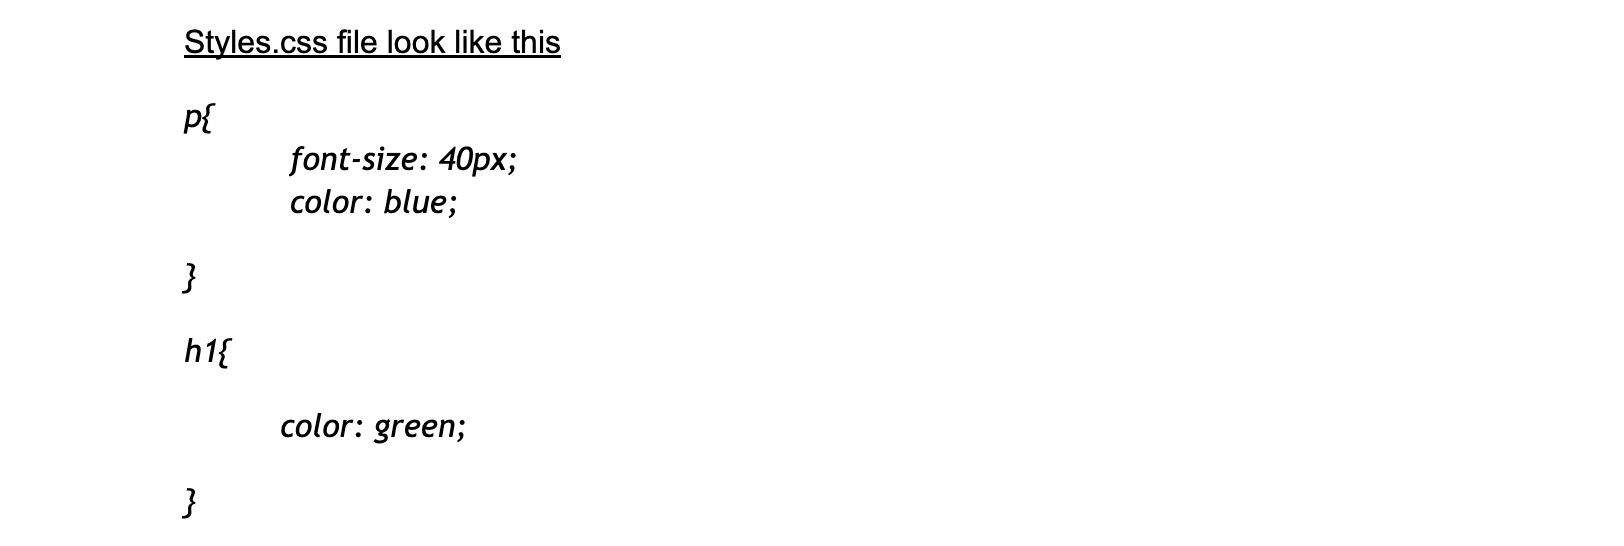
Let's write some styles in this newly created CSS file. Rather than writing again, I will just cut the existing styles that we wrote inside the style’s tag and paste them in the new file. Shortcut to cut is ctrl+x and paste is ctrl+v
Now html should look like this
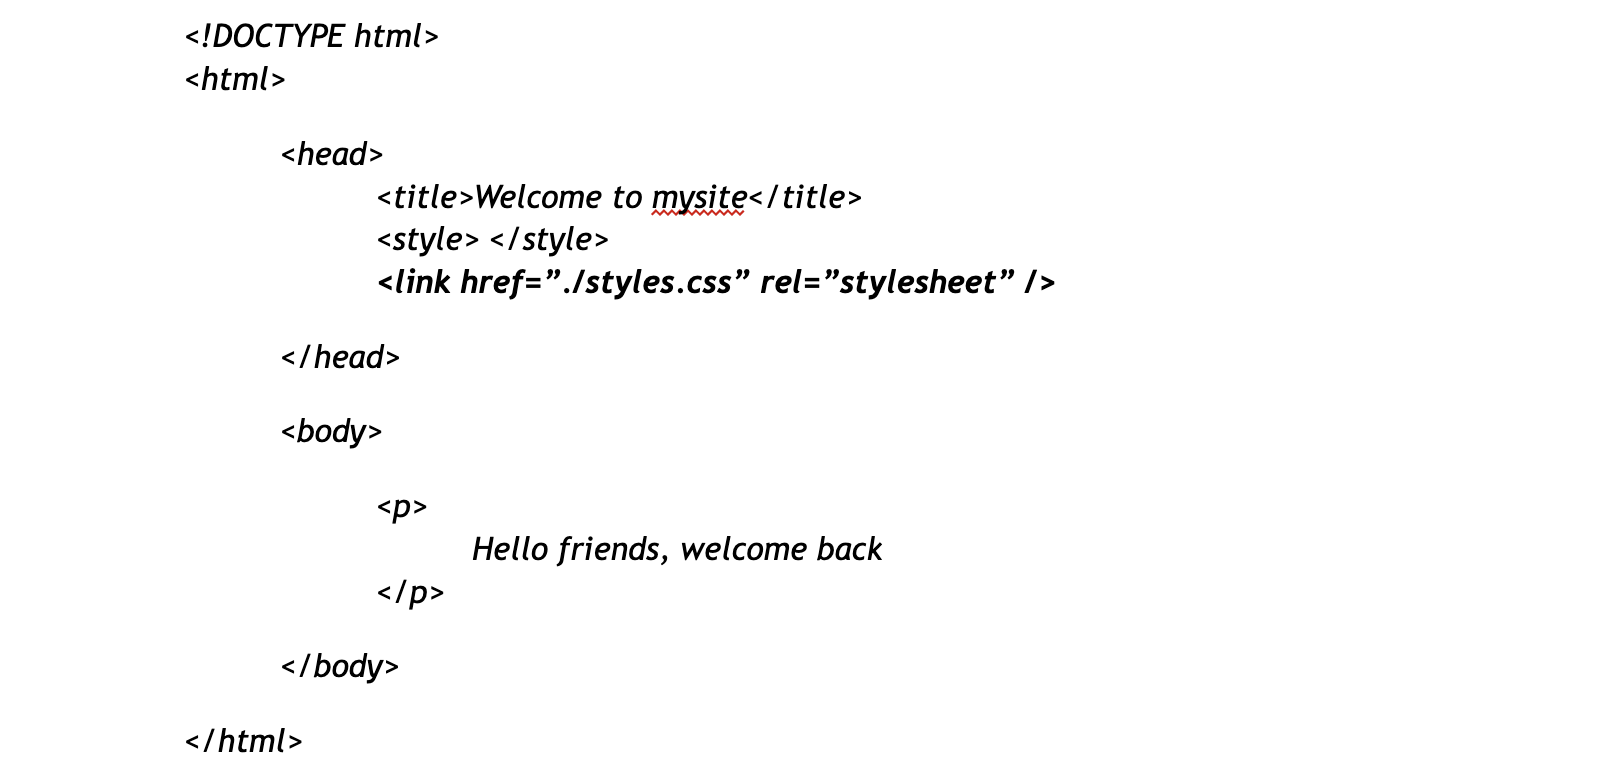
Here in the link tag, for the ‘href’ attribute, we gave the path of our external resource/file. We can also give a URL here. The 'rel’ attribute is the 'relation'; we should define what this file is about. We gave 'stylesheet'; it indicates it is the styling file. Going further, we will see different types of ‘rel’ values.
An external resource need not necessarily be a style file; it can be an image, etc.
Let's download a dummy favicon from Google and place it in our project folder. Favicon means favorite icon.
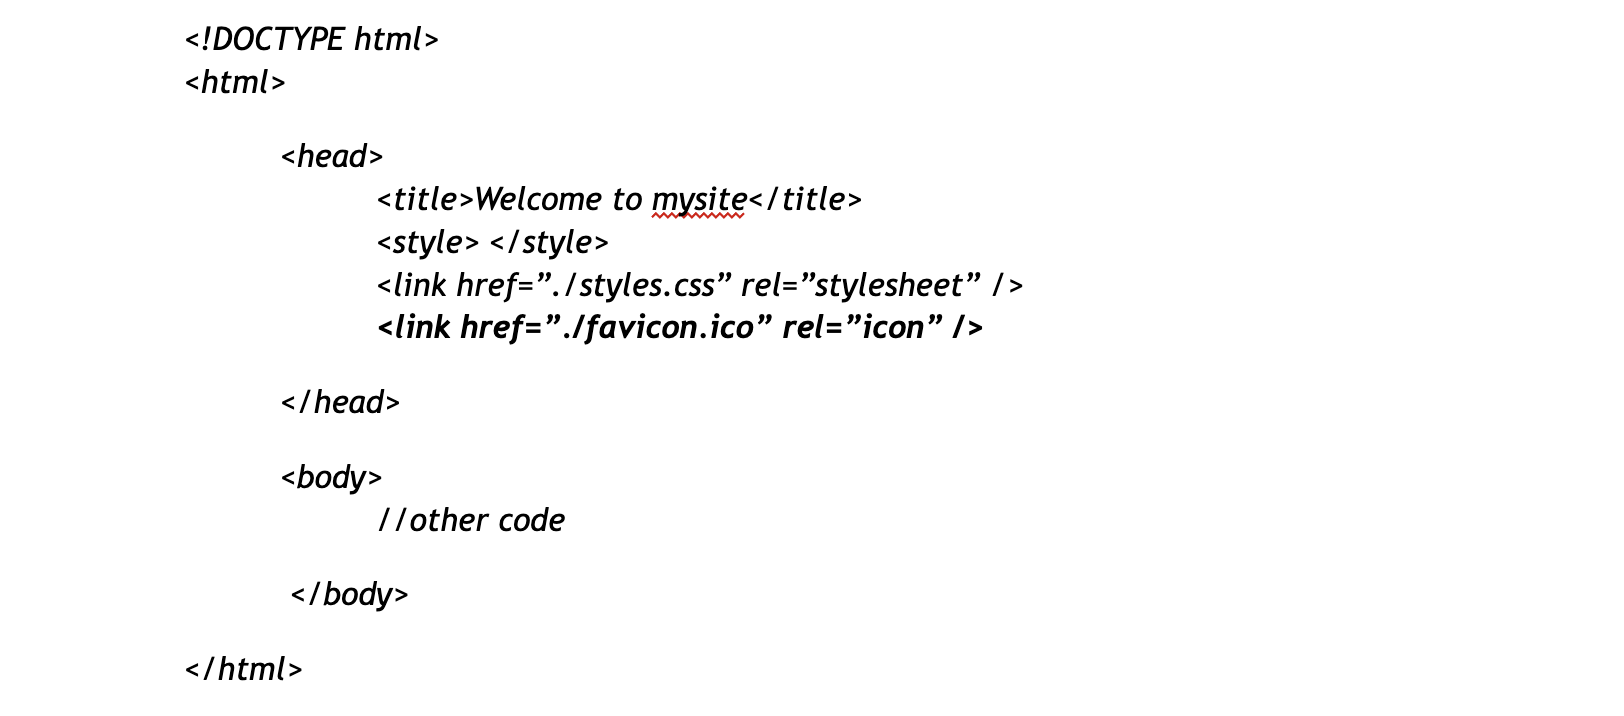
Now save this file and open index.html. You can observe there is a small icon beside the title text in the browser’s tab. This is how we apply a favicon using a link tag.
If you observe, for every tag, there is a <start tag> and <end tag>, but for <link, the syntax is a little different. It has a self-closing tag. This is the shortcut if we don't have any content inside the tag. If there is no content inside the tag, then we can self-close it like <tagname (attributes here if any) />.
Script Tag:
Script tag help us write functional code; usually it will be javascript code. If you remember, in our last tutorial, we discussed how ‘javascript’ helps our website be dynamic.
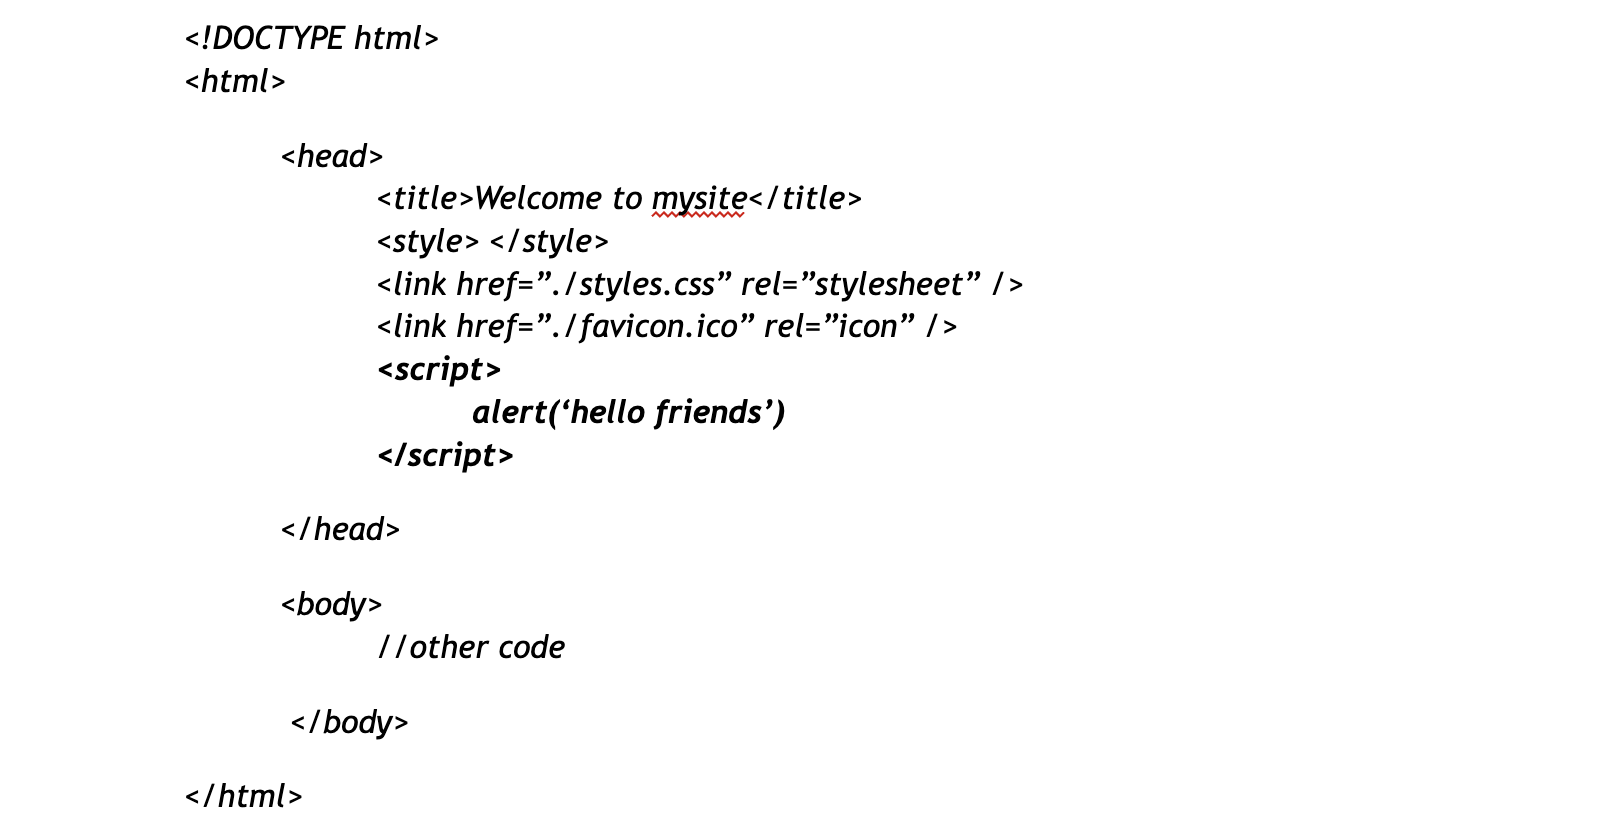
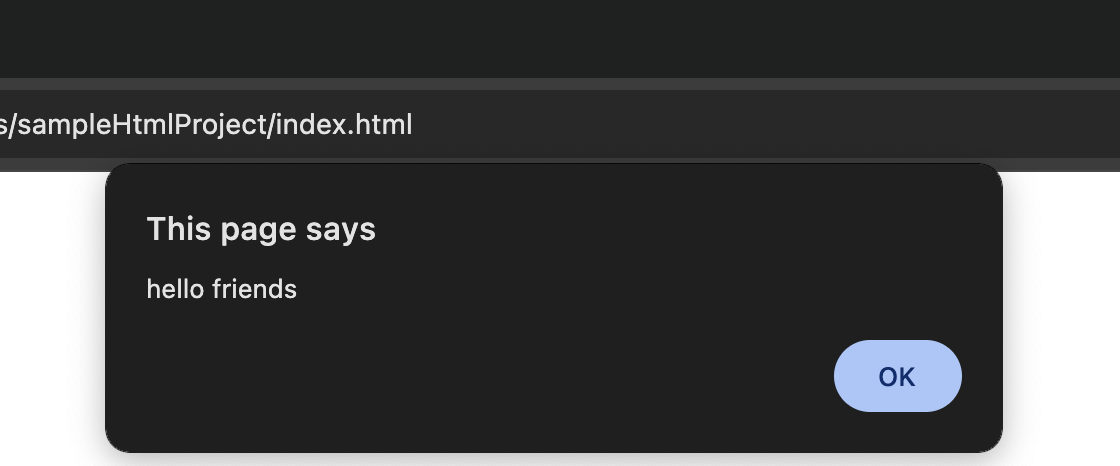
Here in this script tag, we have written one javascript function called ‘alert’, which will show an alert on the website. Whatever javascript we want to write, we can write inside this script tag.
We also use script tags to use external script files.
Let's try to create a new file (the same way we did for the CSS file). Go to ‘File’ > ‘New Text File', so a file gets created. To save this, just type 'ctrl+s', or you can do ‘File’> ‘Save’. A popup will appear. Type the file name you prefer, and I will give func.js. Select the folder that we created at the start of this tutorial, i.e.,'sampleHtmlProject', and click 'save'. A javascript file has now been created.
If you remember, for the html file, we gave the name of the file with the extension.html; for the CSS file, we gave .css, and for the Javascript file, we gave it as .js.
Now let's copy and paste the javascript code that we wrote in the script tag into the newly created file. Let's include the path of the newly created file in the script tag shown below.

Now save and open the index.js file to see the alert in the browser.
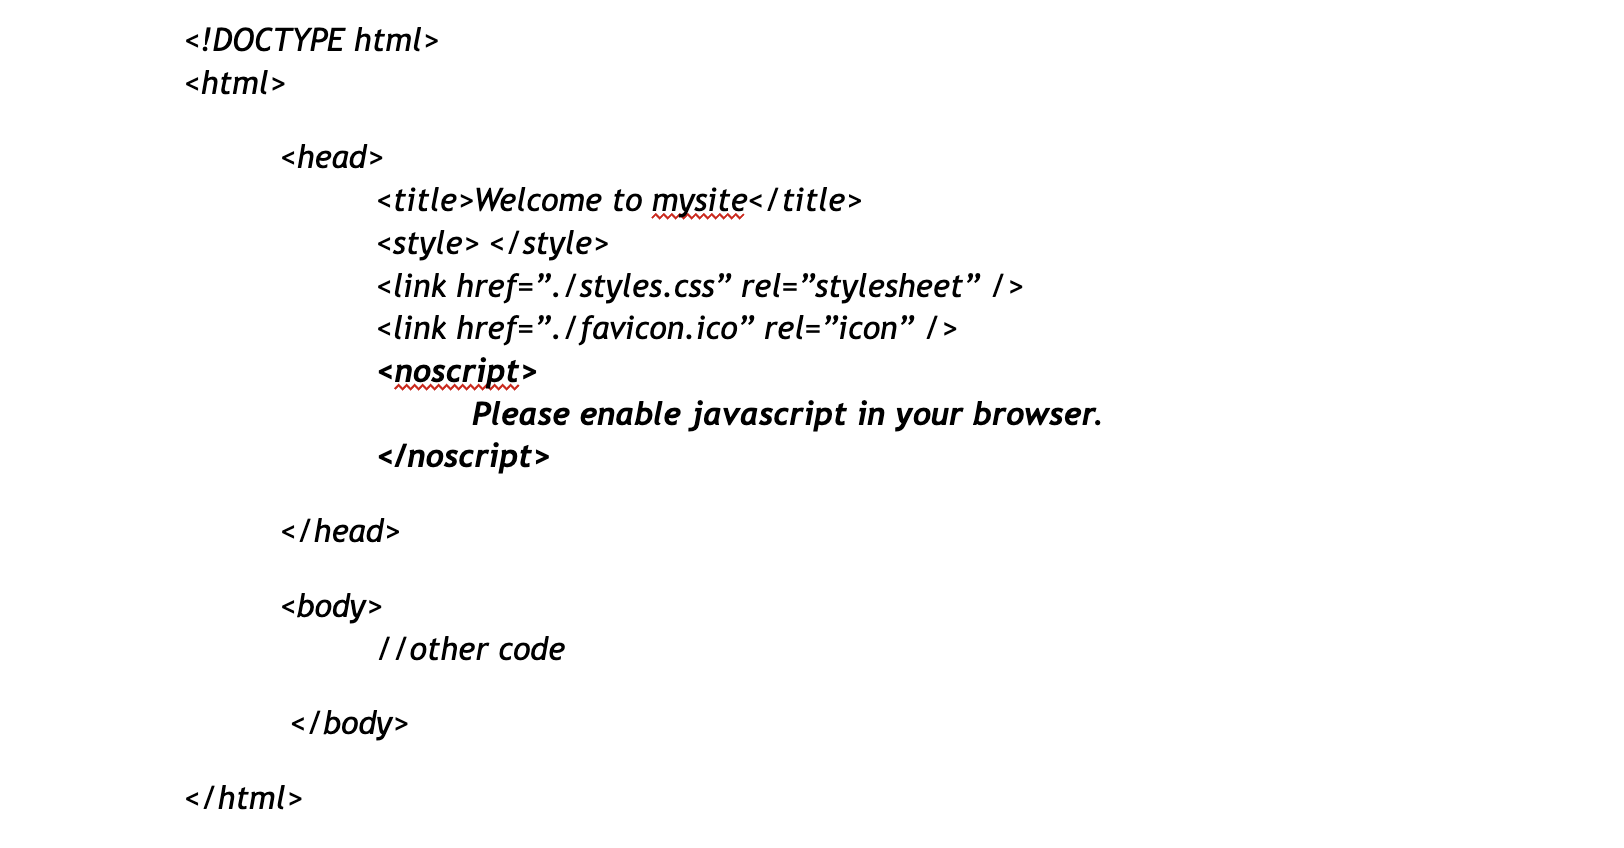
Noscript Tag:
Sometimes javascript gets disabled in our browsers, and if we want to alert the user to enable the javascript capability, then we can use this tag to show some text message on the page.
If we save this and open the browser, we will not see this message because our browsers by default have JavaScript enabled.
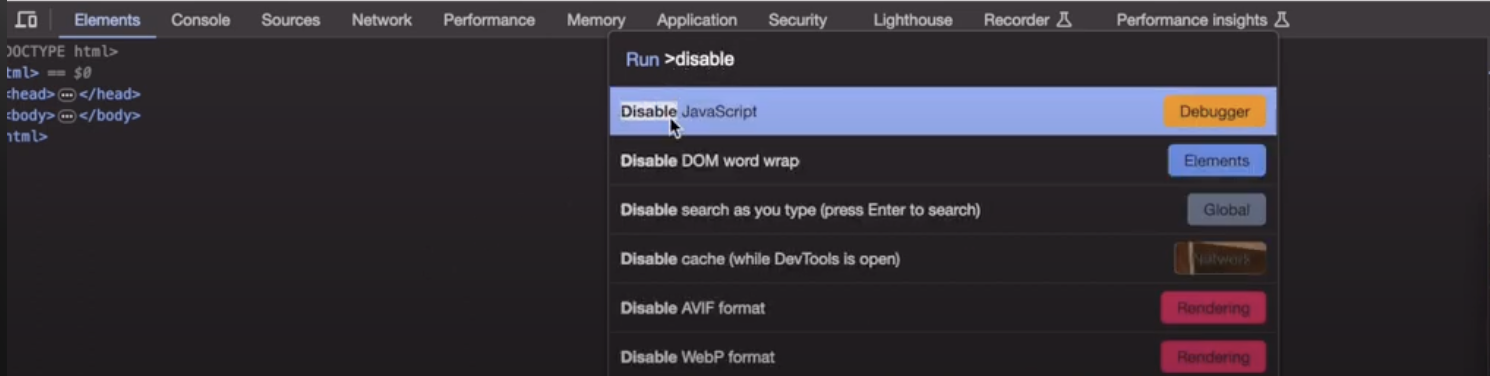
To test this, we can disable JavaScript in our Chrome browser by following these steps.
Step 1: Open the browser, right-click on the page, and click ‘inspect’. It opens developer options.

Step 2: Now click ctrl+shift+p. There is a dropdown that appears. Type ‘disable javascript’ and click on the option that appears as ‘Disable Javascript’. This disables the javascript in our browser.
Now reload the page to see the noscript message on the page.

To enable javascript again in the Chrome browser, follow these steps:
Step 1: Open the browser, right-click on the page, and click ‘inspect’. It opens developer options.
Step 2: Now click ctrl+shift+p. There is a dropdown that appears. Type ‘enable javascript’ and click on the option that appears as ‘Enable Javascript’. This enables the javascript in our browser.

Meta Tag:
This tag is very important because it helps our website improve visibility in search engines (search engine optimization). We use meta tags in various ways. I listed all of them below.
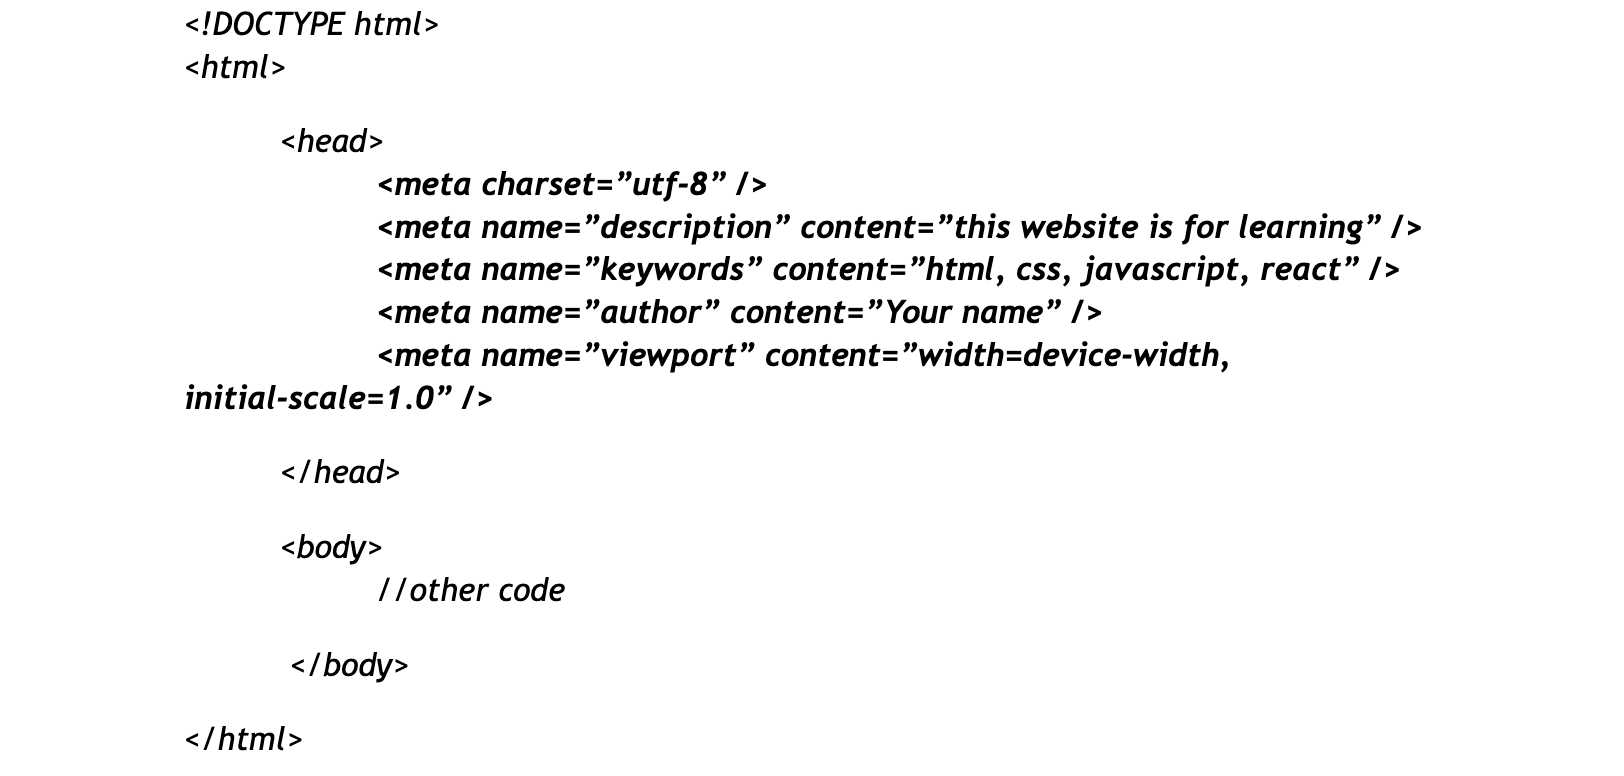
The first meta tag, i.e., charset="utf-8” indicates our HTML file should be encoded in UTF-8 format. What is encoding and decoding? We will discuss this in future tutorials.
The next meta tag, i.e., name="description” and some content help define the description of our page; search engines use this to understand what the purpose of our website is.
The next meta tag, i.e., name=”keywords” and some content, help define the keywords of our website/page. a few years ago, search engines used to use these keywords to understand our website, but these days, search engines are no longer using them to identify our website’s content.
The next meta tag, i.e., name=”author” and some content, defines the owner of the page or author of the article written on that page.
The next meta tag, i.e., name=”viewport" and some content define the viewport of the screen; viewport means the visibility area of our page in the browser.
width=device-width means viewport width should equal the width of the device. Initial scale = 1.0 means that when the page loads, it should be visible at 100% zoom.
To check how it's working, open the browser and right-click and click on 'inspect'.
In the inspector, click on the option ‘toggle device toolbar’.

Now we can change the resolution by selecting various screen size devices and check how the page looks if we include this meta tag option and if we don't include this option.

Base Tag:
The base tag helps define the base path; to understand this, we should know different paths like the absolute path, the relative path, etc. We will discuss this in future tutorials once we learn the required concepts.
 Intro to HTML, CSS, Javascript. Installation of Node Js, VS CodeIntro to HTML, CSS, Javascript. Installation of Node Js, VS Code